

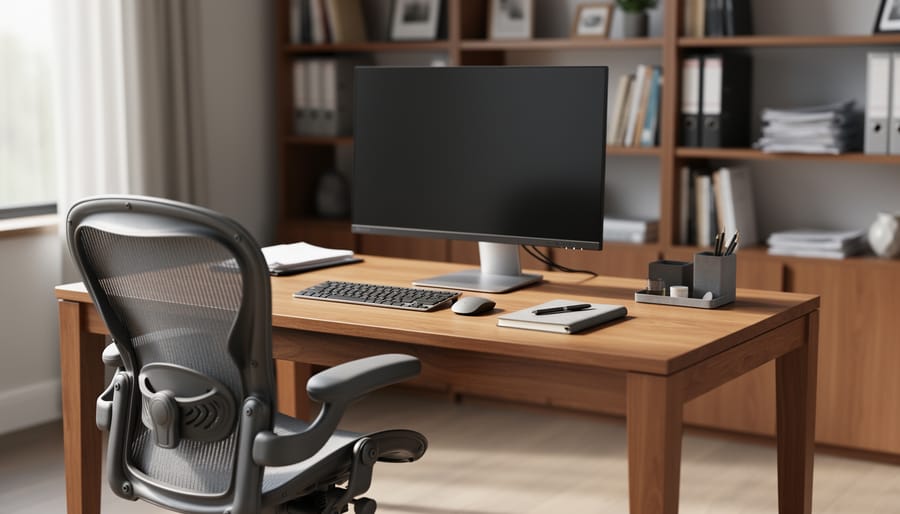
Improving productivity in the workplace starts with a workspace designed around how you actually work, and building custom office furniture lets you eliminate the common friction points that generic store-bought desks and storage systems create. Instead of adapting your work habits to fit mass-produced furniture dimensions, you can craft pieces that position your monitor at the perfect eye level, keep essential tools within arm’s reach, and provide dedicated zones for focused tasks versus collaborative work. This approach transforms your office from a collection of compromised furniture into a personalized productivity engine.
The connection between furniture design and work output is more direct than most people realize. A monitor positioned three inches too low forces constant neck strain that compounds fatigue by mid-afternoon. A filing system that requires standing and walking across the room interrupts flow state dozens of times per day. Chair height mismatched to desk height creates shoulder tension that distracts from complex tasks. These small misalignments add up to hours of lost productivity each week.
Building your own workspace furniture solves this problem permanently. You’ll measure your natural posture, track which tools and materials you reach for most frequently, and identify the workflow patterns unique to your role. Then you’ll translate those observations into furniture specifications that support rather than fight your habits. The process requires basic woodworking skills, common tools, and a willingness to prioritize function over aesthetics (though you’ll achieve both). The result is an office environment where every surface, storage compartment, and viewing angle actively contributes to getting work done faster and with less friction.
Understanding How Your Workspace Affects Your Productivity
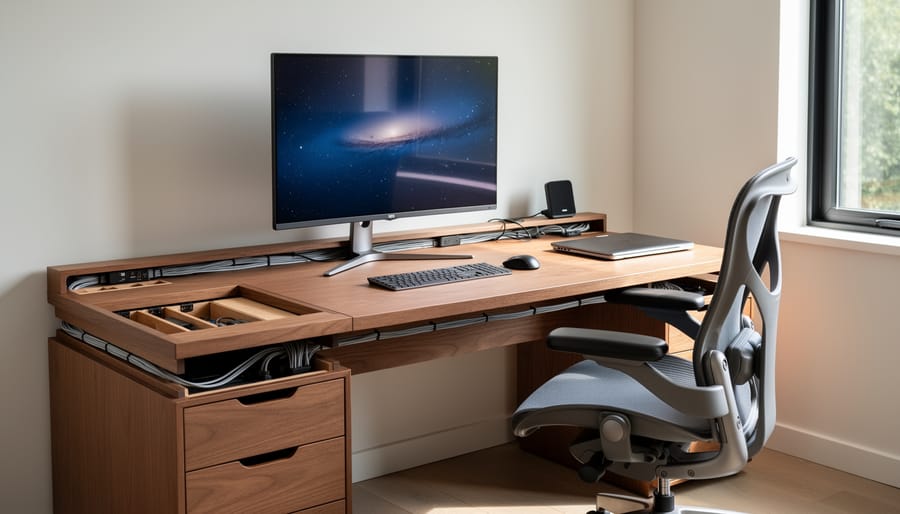
Your workspace doesn’t just hold your work, it actively shapes how efficiently you can perform that work. The physical arrangement of your office furniture determines how much energy you waste on unnecessary movement, how quickly you can access what you need, and whether your body can maintain focus without discomfort throughout the day. Understanding this connection is the first step toward building custom furniture that eliminates these friction points rather than perpetuating them.
Desk height affects everything from typing posture to shoulder tension. When your work surface sits too high, your shoulders lift and tighten; too low, and you hunch forward, compressing your chest and restricting breathing. Proper ergonomic workspace productivity starts with a surface that lets your elbows rest at 90 degrees while your feet stay flat on the floor. This isn’t about following generic standards, it’s about measuring your own body and building to those exact dimensions.
Storage accessibility directly impacts your workflow rhythm. If you need to stand up, walk across the room, and dig through a drawer three times an hour to retrieve frequently-used tools or materials, those interruptions fragment your concentration and add dead time to every task. Analyzing where items actually live versus where you use them reveals the gaps that custom-built storage solutions can close.
Common workspace design problems that kill productivity include:
- Desktop clutter from inadequate dedicated storage for ongoing projects
- Monitor height forcing you to crane your neck up or hunch down
- Filing and reference materials stored beyond comfortable reach
- Overhead lighting that creates screen glare or casts shadows on your work surface
- Cable tangles that make connecting devices a frustrating chore
Lighting integration matters more than most people realize. Task lighting should illuminate your work without reflecting off screens or creating harsh shadows that strain your eyes. When you build your own furniture, you can design in cable channels for adjustable desk lamps and position surfaces to work with your room’s natural light instead of fighting it.
Workflow zones divide your workspace by activity type. A writing zone needs a clear surface and comfortable keyboard position. A reference zone needs shelving or vertical file storage within arm’s reach. A materials zone for physical tools or samples needs accessible drawers or bins. When these zones overlap or force you to swivel constantly between disconnected areas, you’re working against your furniture instead of with it. The best wooden desks accommodate multiple work modes, but a custom build lets you map these zones precisely to your tasks.
Walk through a typical work session and note every time you stretch awkwardly, search for something, adjust your position to reduce discomfort, or interrupt a task because your setup doesn’t support it. Those moments are your design targets, the specific problems your custom furniture will solve.
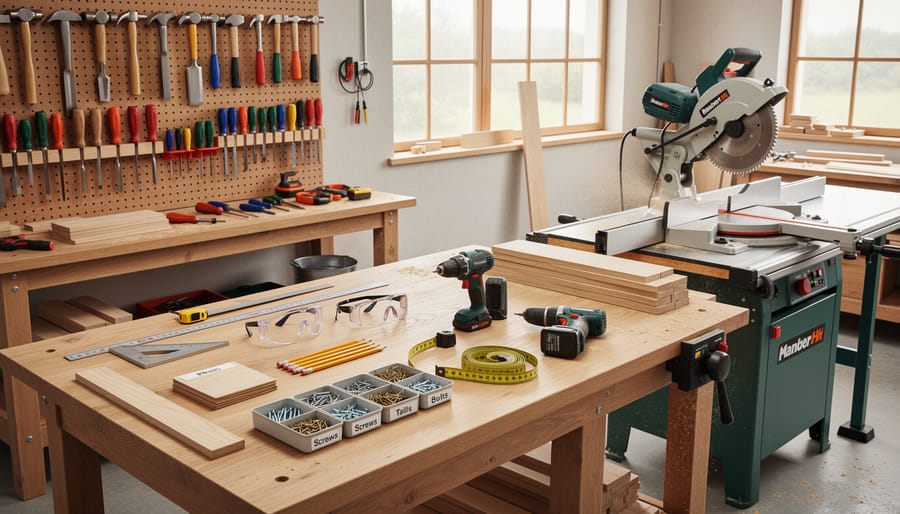
Essential Tools and Materials for Building Productivity-Focused Furniture
Choosing Wood and Materials That Support Long-Term Use
Your desk will spend years supporting your daily work, so choosing materials that can handle constant use matters more than aesthetics. A wobbly surface or worn finish forces distracting repairs that kill productivity.
Solid hardwoods like oak, maple, and walnut offer unmatched durability and stability. They resist warping, handle weight without sagging, and take impacts from dropped tools or equipment. However, they cost significantly more and require careful joinery. High-quality cabinet-grade plywood provides excellent strength at lower cost. Look for birch or maple plywood with at least 9 plies, more layers mean better dimensional stability and less chance of the surface telegraphing screw holes or dents over time. Avoid construction-grade plywood or particleboard; they deteriorate quickly under desk-surface wear.
When comparing wooden desk options you’ll notice finish plays a huge role in longevity. Polyurethane creates a hard, protective shell that resists coffee spills and keyboard friction. Oil finishes look beautiful but require reapplication every few years. For workspace furniture, prioritize protection over appearance, a damaged surface becomes a daily annoyance.
Hardware quality determines how smoothly drawers and adjustable features function after thousands of uses. Full-extension drawer slides rated for 100 pounds prevent sagging. Grade 8 bolts and steel brackets won’t strip out when you adjust monitor arms or shelving. Cheap hardware fails within months, forcing frustrating mid-project rebuilds that wreck your workflow.
Safety First: Workshop Precautions for Furniture Building
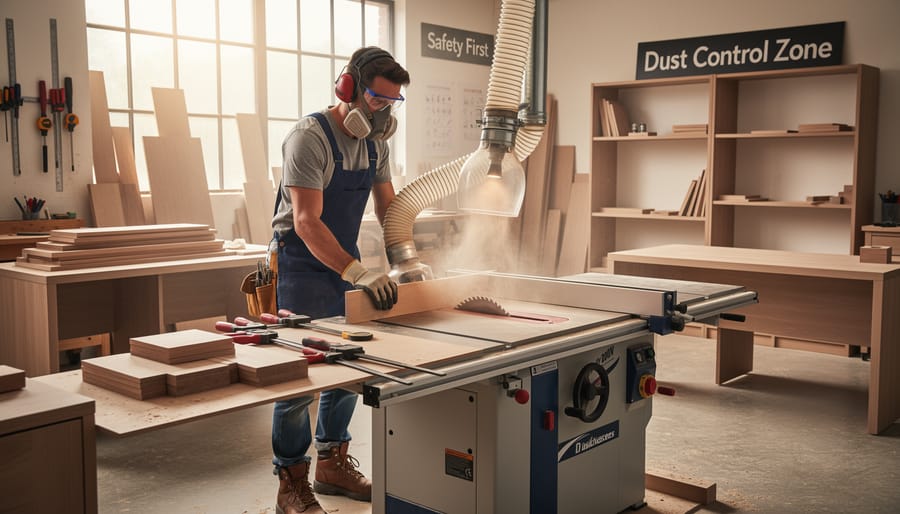
Before you cut a single board or drive your first screw, setting up proper safety measures protects you from injuries that could derail your entire productivity improvement project. A well-organized, safe workshop lets you focus on precision work instead of worrying about hazards.
Start by clearing enough floor space around your work area so you can move freely without tripping over lumber, tools, or extension cords. Keep your cutting zone free from clutter and position your workbench where you have good lighting from multiple angles. Store sharp tools in designated spots when not in use, never balanced on edges where they might fall.
Dust management matters more than most beginners realize. Even a single afternoon of cutting MDF or sanding hardwood fills your lungs with fine particles that irritate airways and reduce your ability to concentrate. Wear a dust mask rated N95 or better whenever you sand, and connect a shop vacuum to your power tools if possible. Open windows or use a fan to keep air moving through your workspace.
When handling power tools, secure your workpiece with clamps rather than trying to hold it steady by hand. A board that shifts during a cut can bind the blade and cause kickback. Keep both hands on the tool, maintain stable footing, and never reach over a spinning blade to clear scraps.
Finishing products like polyurethane and lacquer release fumes that cause headaches and dizziness in enclosed spaces. Apply these outdoors when possible, or set up cross-ventilation with fans if you must work inside. Dispose of oil-soaked rags in a sealed metal container, they can spontaneously combust if left wadded in a pile.
Step-by-Step: Building Your Productivity-Enhancing Workspace
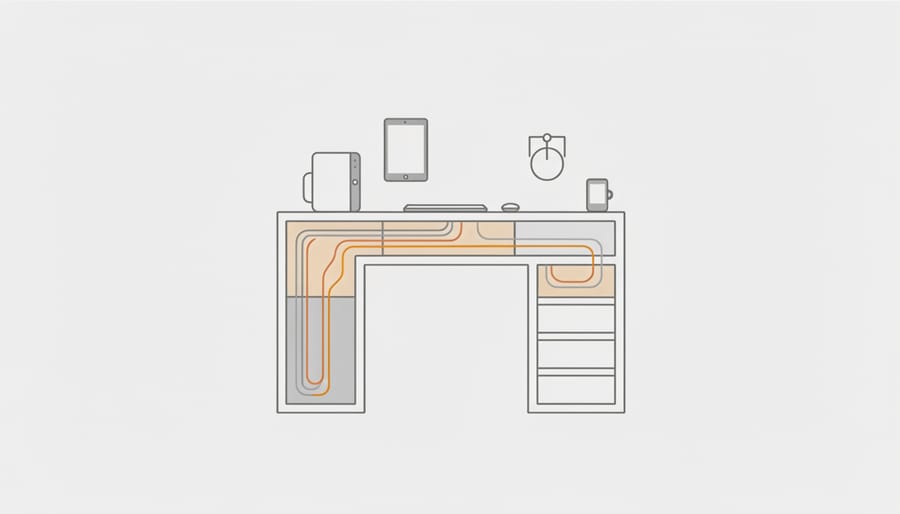
Step 1: Assess Your Work Tasks and Design Your Layout
Start by tracking what you actually do during a typical workday. Spend two or three days noting every task: where you use your computer, where you write notes, where you store reference materials, and how often you switch between activities. Notice which items you reach for constantly and which sit untouched for hours. This honest assessment reveals your real workflow, not an idealized version.
Next, measure your available space. Record the room dimensions, window and door locations, and outlet positions. Sketch a simple overhead view on graph paper, using one square per foot. Mark where natural light falls throughout the day, since you’ll want your primary work surface positioned to take advantage of it without creating screen glare.
Now map your workflow zones onto that sketch. Place your main work surface where you’ll spend most of your time. Position secondary surfaces for tasks you do less frequently but still need accessible. Plan storage within arm’s reach for daily-use items, and farther away for weekly or monthly materials. Use our desk height guide to determine proper surface heights based on whether you’ll sit, stand, or alternate.
Measure yourself, too. Sit in your current chair and measure from the floor to your bent elbow, this gives you a baseline for desk height. Note your comfortable reach distance without stretching. These personal measurements matter more than standard furniture dimensions because you’re building for your body and your specific tasks, not an average user.
Step 2: Create Detailed Plans and Cut Lists
With your workspace assessment complete, transform your measurements and workflow notes into precise building plans. Start by sketching each furniture piece to scale on graph paper, marking exact dimensions for height, width, and depth. Add your storage zones, monitor placement, and any specialized features you identified during your assessment.
Next, decide on joinery methods based on your skill level. Pocket screws offer strong, beginner-friendly joints for frame construction. If you’re drawing from desk layout inspiration, note which structural techniques suit your design, whether simple butt joints reinforced with screws or more advanced dado joints for shelving.
Create a detailed cut list organizing every piece by material type and dimensions. Label each component clearly: “desktop, 60″ × 30″ × ¾””, “side panel, 28″ × 24″ × ¾””. This prevents confusion during cutting and assembly.
Finally, draw a cutting diagram showing how each piece fits on your plywood sheets or lumber lengths. Arrange parts to minimize waste, grouping pieces of similar width together. Mark grain direction where it matters for strength or appearance. This diagram becomes your roadmap in the workshop, ensuring you purchase the right amount of material and cut efficiently without mistakes.
Step 3: Cut and Prepare All Components
Start by organizing your cut list into groups, desk top, legs, supports, storage components, so you can work methodically through each category without confusion. Set up a cutting station with good lighting and plenty of room to handle full-length boards safely.
When cutting, measure twice and cut once isn’t just a cliché. Mark your cut lines clearly with a pencil and square, then double-check measurements against your plans before making any cuts. Use a circular saw with a straightedge guide for long rip cuts, a miter saw for crosscuts, and make sure your blade is sharp to prevent tear-out and burning.
After cutting each piece, write its designation directly on the wood in pencil (for example, “DL” for desk left leg). Stack similar components together and keep them away from your active work area to prevent accidental damage.
Prepare all edges with sandpaper, starting at 120-grit to remove saw marks and splinters, then finishing with 180-grit for smooth surfaces. Pre-drill any screw holes now while components are easy to handle individually. This prevents wood splitting during assembly and makes the actual construction phase much faster, keeping your project momentum going and reducing the frustration that derails DIY efforts.
Step 4: Assemble the Primary Structure
With all your components cut and prepared, begin assembly by laying out the side panels and connecting rails on a flat surface. Start with the desk frame’s longest joints first, these set the foundation for everything else.
If you’re using pocket screws, clamp each joint firmly before driving screws to prevent shifting. Position clamps so they pull the joint tight without bowing the wood. Drive screws slowly and check alignment after each one. For dowel joints, apply wood glue to both the dowels and the holes, then tap pieces together with a rubber mallet. Work quickly before glue begins to set.
Check for square immediately after joining each corner. Measure diagonally from corner to corner, if both measurements match exactly, your frame is square. If not, apply gentle pressure to the longer diagonal while the glue is still workable.
For mortise-and-tenon joints, do a dry fit first to confirm everything aligns properly. Apply glue only to the mortise walls (not the bottom), then seat the tenon fully. Clamp across the joint and wipe away squeeze-out with a damp cloth.
Let the main frame cure completely before adding weight or continuing construction. A stable, square foundation here prevents wobbling and ensures your workspace furniture supports focused, efficient work for years.
Step 5: Add Storage and Organization Features
With your desk frame assembled, you can now build the storage that keeps your work moving. Start by installing the drawer boxes you cut earlier, attach slides to the cabinet sides first, then mount the mating slides to each drawer. Test the action before loading them; smooth glides matter when you’re reaching for supplies mid-task.
Mount shelves where your workflow analysis showed you need them. Position frequently-grabbed items, notebooks, charging cables, reference binders, at arm’s length from your primary work position. Shelves above desk height work well for less-used materials; anything you touch daily belongs within easy reach without standing or stretching.
Cable management prevents the tangled mess that kills focus. Drill a grommet hole through the desktop for monitor and device cables, then run them through a channel or clips underneath. Keep power strips mounted to the underside of the desk or inside a cabinet so cords stay organized and out of sight.
Add specialized holders based on how you work: a vertical slot for your tablet, a shallow tray for pens and markers, or a pull-out keyboard shelf if you alternate between writing and typing. Every feature should solve a specific friction point you identified earlier, not just fill space.
Step 6: Apply Finish and Install Hardware
Sand all surfaces with 120-grit, then 220-grit paper, working in the direction of the grain. Wipe away dust with a tack cloth. If staining, apply an even coat with a foam brush, let it penetrate for 5-10 minutes, then wipe off excess. Once dry, apply two coats of polyurethane, sanding lightly between coats for a durable work surface that resists coffee rings and scratches.
Install drawer slides according to manufacturer specs, ensuring they’re level so drawers glide smoothly without sticking. Attach handles at a comfortable height for your seated reach. Mount any monitor arms, keyboard trays, or cable clips now. Test each piece of hardware under actual work conditions: open drawers while seated, adjust monitor height to eye level, route cables to eliminate desk clutter. These finishing touches transform raw wood into furniture that actively supports your daily workflow.
Testing Your Setup and Measuring the Productivity Impact
Once your custom furniture is in place, you need to confirm it actually delivers the productivity gains you built it for. This isn’t just a once-over inspection, it’s a structured testing process that reveals whether your design choices support your work or need refinement.
Start with an immediate ergonomic check. Sit at your new desk and assume your normal working position for at least 30 minutes. Your feet should rest flat on the floor, your forearms parallel to the ground when typing, and your monitor at eye level without tilting your head. If anything feels forced or uncomfortable, adjust now rather than accepting weeks of strain.
Next, run through your typical work tasks exactly as you would on a regular workday. Time how long it takes to access frequently-used tools, locate reference materials, and transition between different types of work. The furniture should make these actions faster and more intuitive than your previous setup. If you’re still hunting for items or stretching awkwardly to reach things, you’ve identified areas that need modification.
Track specific verification points over your first full week:
- Monitor your posture throughout the day, shoulders relaxed, wrists neutral, back supported without slouching
- Measure reach distances for items you use hourly, everything should be within a comfortable arm’s sweep
- Compare task completion times against your baseline before the new furniture
- Assess clutter accumulation and time spent searching for materials
- Rate your physical fatigue at day’s end on a consistent scale
Keep a simple log for two weeks noting what works and what creates friction in your workflow. Small adjustments, moving a shelf up three inches, angling your keyboard tray, relocating a drawer organizer, often make the difference between functional and exceptional. The goal isn’t perfection on day one but continuous refinement based on real use patterns.
Common Questions About DIY Productivity Furniture
What skill level do I need to build my own office furniture?
Beginners can start with simple designs like basic desks or shelving units using straightforward joinery methods such as pocket screws. As you gain confidence through practice, you can tackle more complex projects with drawers and custom storage features.
How long does it take to build a custom desk or workstation?
A basic desk typically requires 8-12 hours spread over a weekend, while more elaborate pieces with multiple drawers and specialized storage can take 20-30 hours. Your first project will take longer as you learn, but subsequent builds become faster.
Is building my own furniture cheaper than buying commercial office pieces?
You can build a solid hardwood desk for roughly half the cost of comparable commercial furniture, especially when you compare desk choices at retail prices. The bigger value comes from getting exactly the dimensions, storage configuration, and features your workflow needs rather than compromising with what’s available in stores.
Can I modify my furniture later if my work needs change?
One major advantage of DIY furniture is that you built it and understand its construction, making future modifications straightforward. You can add shelves, relocate drawers, extend work surfaces, or integrate new cable management as your tasks evolve.
What’s the best first project for someone wanting to improve their workspace?
Start with a simple wall-mounted shelf or small side table that addresses a specific productivity pain point, such as keeping reference materials at eye level or creating a dedicated spot for your most-used tools. These smaller projects build your skills and confidence before you tackle a full desk or storage system.
Many people worry about making mistakes on their first furniture project, but remember that even professional woodworkers started as beginners. The key is choosing a project that matches your current skill level while solving a real productivity problem in your workspace. If you mess up a cut or need to redo a joint, you’re learning valuable lessons that make every subsequent project easier and faster.
The time investment pays dividends beyond the finished furniture itself. Each project teaches you techniques you’ll use again, helps you understand how furniture construction affects durability and function, and builds your ability to solve design problems specific to your work style. Start small, focus on solving one productivity bottleneck at a time, and let your skills and your workspace grow together.
Building your own office furniture puts you in complete control of your workspace, and that control translates directly into better productivity. You’re not settling for generic dimensions or guessing whether a store-bought desk will actually fit your workflow. Instead, you’ve created furniture built around exactly how you work, where you need storage, and what makes your daily tasks easier.
If the full project feels overwhelming, start with just one piece that addresses your biggest productivity pain point. Build that custom desk at the perfect height for your monitor and keyboard. Add those specific shelves that keep your most-used tools within arm’s reach. Each improvement you make teaches you new skills while making your workday more efficient.
The woodworking techniques you’ve learned here apply to countless other furniture projects. Our step-by-step courses can help you expand your abilities and tackle more ambitious builds as your confidence grows. Your workspace will never be truly finished because your needs will evolve, and that’s actually the beauty of building your own furniture. You can always add, modify, and refine. You’ve taken the first step toward a workspace that works as hard as you do, and you have the skills to keep improving it for years to come.
