

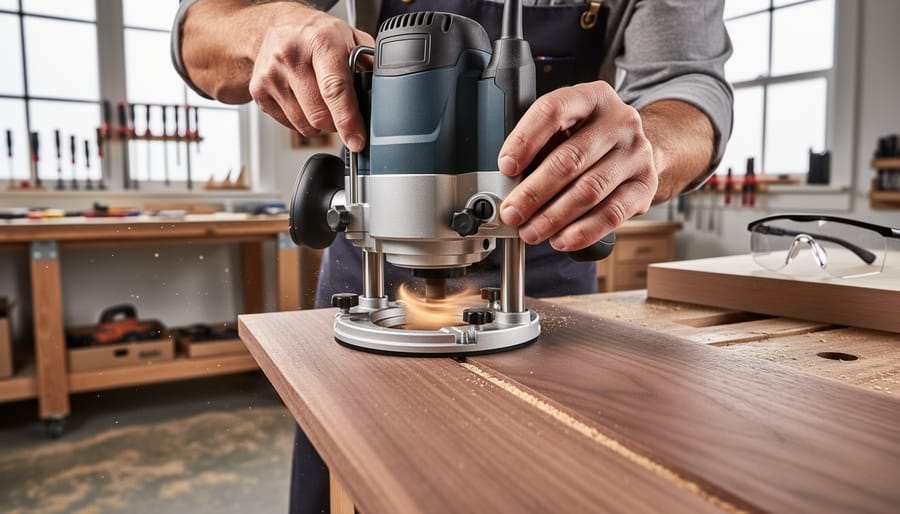
Routers remain one of the most dangerous tools in any woodshop, but four core safety practices can dramatically reduce your risk of injury. A spinning router bit reaches speeds up to 25,000 RPM, and without proper safeguards, kickback and bit contact can happen in milliseconds. The good news? Most router accidents stem from preventable mistakes like incorrect bit installation, poor workpiece control, or skipping essential safety gear.
This guide cuts through the overwhelming advice and focuses on the safety fundamentals that matter most. Whether you’re routing your first edge profile or working on complex joinery, these four rules form the foundation of safe router operation. You’ll learn exactly which safety equipment protects you best, how to secure your workpiece properly, what feed direction prevents dangerous kickback, and which bit inspection steps catch problems before you power on.
Safe routing isn’t about memorizing dozens of rules. It’s about building muscle memory around a handful of critical practices that protect you every single time you flip the switch. Let’s walk through each one so you can work confidently without the fear that holds many beginners back from mastering this incredibly versatile tool.
Why Router Safety Matters in Your Workshop
Routers spin their bits at speeds exceeding 20,000 revolutions per minute, that’s over 300 times per second. At this velocity, even a momentary lapse in control can result in deep cuts, flying debris, or violent kickback that yanks the tool from your hands. These aren’t rare freak accidents; they’re predictable outcomes of specific mistakes that happen repeatedly in workshops everywhere.
I chose these four safety tips because they address the root causes of nearly every router injury I’ve seen or heard about. They’re not an exhaustive list of every possible precaution, but they form a rock-solid foundation that protects you while you work. Each tip targets a specific failure point: losing control of the tool, feeding in the wrong direction, working with unstable materials, or using damaged equipment.
The beauty of focusing on these four principles is that they’re simple enough to remember under pressure, yet comprehensive enough to prevent most accidents. Once these habits become automatic, you’ll find yourself routing with greater confidence and precision. You’re not just avoiding injury, you’re creating the mental space to focus on the quality of your work instead of worrying about what might go wrong.
1. Always Use Both Hands and Maintain a Stable Stance
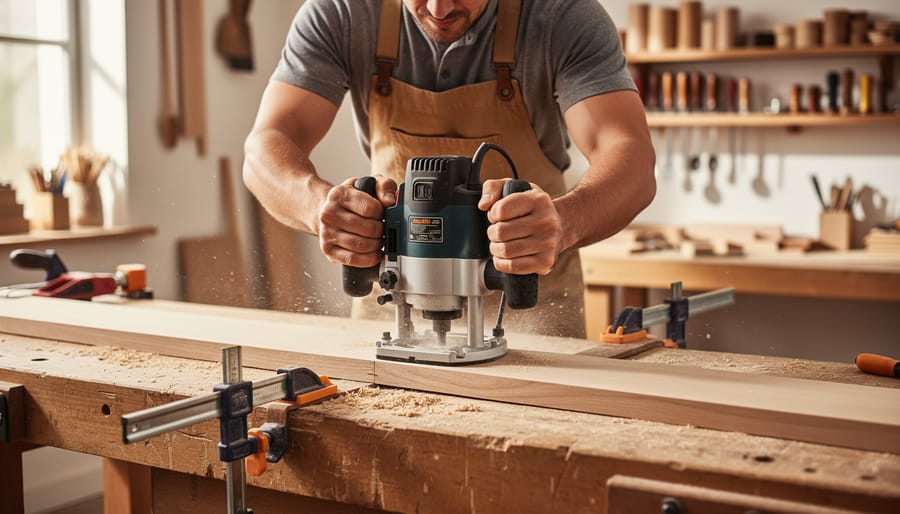
The moment you squeeze that trigger, your router becomes a powerful tool spinning at over 20,000 RPM, and that power demands respect. The single most important habit you can develop is keeping both hands on the router at all times and positioning your body for maximum control and stability.
Your dominant hand controls the router’s main handle while your other hand grips the secondary handle or knob. This isn’t just about comfort, two-handed control gives you the leverage to resist kickback and guide the cut smoothly. One-handed routing is asking for trouble. The router can twist unexpectedly, and with only one hand on the tool, you won’t have the strength to control it.
Your stance matters just as much as your grip. Plant your feet shoulder-width apart and position yourself so you can move with the cut without reaching or leaning awkwardly. Think about where the router will travel and place your body accordingly. Here’s what to focus on:
- Feet shoulder-width apart with weight distributed evenly on both legs
- Dominant hand on the main handle, support hand on the auxiliary knob or base
- Body positioned to the side of the cutting path, never directly behind the router
- Knees slightly bent to lower your center of gravity and improve balance
As you move through the cut, shift your weight naturally rather than stretching to reach. If you find yourself leaning or extending your arms uncomfortably, stop and reposition your feet.
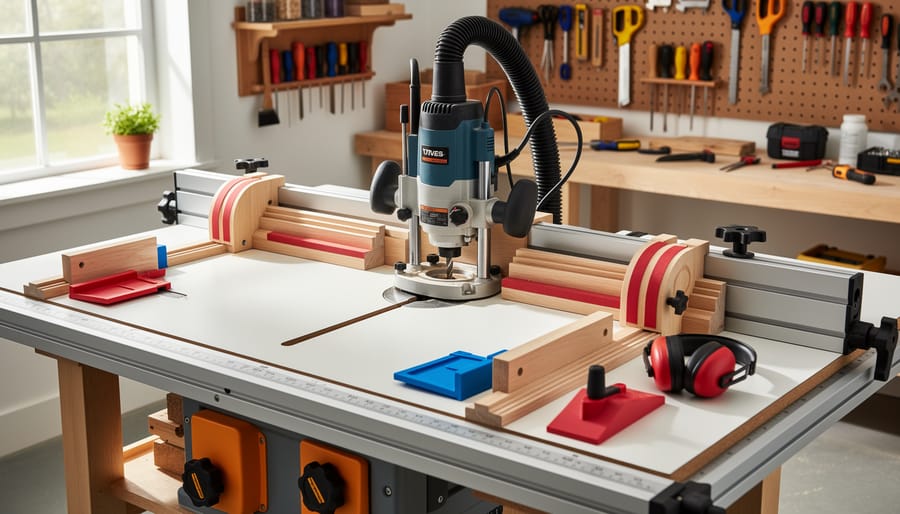
Router tables offer a significant control advantage, especially for smaller workpieces. When you mount the router upside-down in a table, you can focus entirely on controlling the workpiece with both hands while the router stays stationary. This setup is ideal for edge profiles, small parts, and situations where handheld routing feels unstable. Save handheld routing for larger panels and situations where the workpiece can’t safely move across a table. The key is choosing the method that gives you the most control for each specific cut.
2. Feed Direction Matters, Route Against the Bit Rotation
Feed direction isn’t just a preference, it’s the difference between a controlled cut and a router that jerks violently in your hands. Understanding how your router bit spins and how to work with that rotation prevents one of routing’s most dangerous situations: kickback.
Here’s what’s happening inside your router: the bit spins clockwise when you look down at it from above. This rotation pulls the bit in a specific direction, and your job is to push the router against that pull, not with it. When you feed the router in the correct direction, the bit bites into the wood gradually and you maintain full control. Feed it the wrong way, and the spinning bit grabs the wood and races forward faster than you can react.
For handheld routers, the rule is simple: move the router so the bit rotation pushes it back toward you, not away. When routing the outside edge of a board, move counterclockwise around the piece. When routing an inside edge like a picture frame opening, move clockwise. Think of it this way: the router should always feel like it’s trying to pull away from the cut, and you’re restraining it. If the router feels like it’s driving itself forward into the cut, you’re going the wrong direction.
Router tables flip everything. Because the router is mounted upside down, you feed the workpiece from right to left across the bit when facing the table. The bit rotation pulls the workpiece toward the fence, which is exactly what you want, it keeps the work tight against your reference surface.
A messy workshop makes it harder to position yourself correctly for safe feed direction, which is why maintaining organized tool storage and clear workspace through 5S tool organization principles helps prevent routing accidents.
The moment you feel the router accelerating on its own, you’ve gone the wrong direction. Stop immediately, lift the router from the cut, and approach from the opposite direction. With practice, correct feed direction becomes instinctive, but always pause before each cut to mentally confirm you’re moving the right way.
3. Secure Your Workpiece Before You Start
A router can grab an unsecured workpiece and turn it into a projectile faster than you can blink. Before you squeeze that trigger, your wood needs to be locked down so solidly that it won’t budge even under aggressive cutting pressure.
The golden rule is simple: if you can’t secure it properly, don’t route it. Never hold small or narrow pieces by hand while routing, no matter how quick the cut seems. Your hands need to be on the router handles, not wrestling with a workpiece that wants to escape. For handheld routing, clamp your wood to your workbench using at least two points of contact. Position clamps where they won’t interfere with your router’s path, and always do a dry run to check clearance before powering up.
Several effective methods will keep your workpiece stable:
- C-clamps or bar clamps attached to your bench at opposite corners
- Bench dogs in a workbench with dog holes for quick, tool-free securing
- Vacuum hold-down systems for production work or odd-shaped pieces
- Double-sided tape between workpiece and sacrificial board for template routing
As a general guideline, any workpiece smaller than 12 inches long or 6 inches wide deserves extra attention. Build or buy a simple jig that holds small pieces securely while keeping your hands clear of the bit. A sacrificial board underneath also prevents blowout on the bottom edge and protects your bench.
For edge routing narrow stock, sandwich it between two wider boards and clamp the assembly. This creates a stable platform that won’t tip or flex under sideways pressure. Router tables excel at handling smaller pieces since the fence and table support the work, but you still need push blocks or featherboards to maintain consistent pressure.
The 30 seconds you spend securing your workpiece properly beats a trip to the emergency room every single time.
4. Check Your Bit Before Every Use
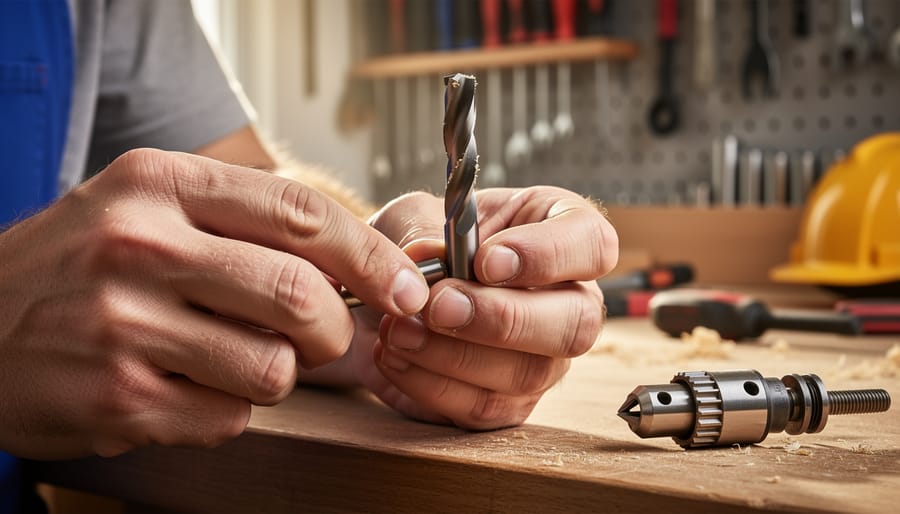
A router bit spinning at 20,000 RPM becomes a projectile if it fails or flies out mid-cut. That’s why inspecting your bit before every single use isn’t paranoia, it’s basic self-preservation.
Start with a visual check. Look for cracks, chips, or burn marks on the cutting edges. Run your finger along the carbide tips to feel for damage you might miss with your eyes. Even a small chip compromises the cut and creates dangerous vibration. If you spot any damage, toss the bit immediately. It’s not worth risking your safety to squeeze one more use from a compromised cutter.
Next, check the shank for rust, buildup, or dings. A clean, smooth shank seats properly in the collet. Wipe it down before installation, pitch and dust prevent full engagement.
Here’s the critical part: collet engagement depth. Insert the bit fully into the collet, then back it out about 1/8 inch. This prevents the bit from bottoming out while ensuring at least three-quarters of the shank sits inside the collet. Anything less and you’re asking for slippage or ejection.
Tighten the collet nut firmly using two wrenches, one on the shaft, one on the collet. Hand-tight isn’t enough. After tightening, give the bit a firm tug to verify it’s secure. If it moves even slightly, you haven’t tightened enough.
Keep your essential shop tools well-maintained, and store bits safely in protective cases between uses to prevent damage.
This 30-second routine prevents catastrophic failures. Make it automatic, and you’ll never have to learn this lesson the hard way.
Essential Safety Gear for Router Work
Before you power on your router, make sure you have the right safety gear within arm’s reach. These three essentials protect you from the specific hazards routers create:
- Safety glasses or face shield: Router bits throw chips at high velocity, and a single splinter to the eye can end your woodworking journey permanently.
- Hearing protection: Routers scream at 95-105 decibels, loud enough to cause permanent hearing damage after just 15 minutes of exposure.
- Dust mask or respirator: Fine dust from routing gets deep into your lungs, and routers create clouds of it faster than almost any other tool.
If you’re investing in safety gear as you choose first router don’t skimp on these basics. A shop vacuum with a dust collection attachment makes a massive difference in visibility and air quality, connect it to your router’s dust port before every session. Some woodworkers also wear tight-fitting work gloves for splinter protection when handling workpieces, though never wear loose gloves that could catch in the bit. The goal is simple protection that becomes automatic, not a complicated routine that tempts you to skip it.
Common Router Safety Questions
What should I do if the router suddenly grabs or kicks back?
Release the trigger immediately and hold the router firmly with both hands until it stops spinning. Never try to fight the kickback or force the router back into the cut, step away and reassess your setup, feed direction, and workpiece security before trying again.
Should I wear gloves when operating a router?
No, never wear gloves while routing. Loose fabric can catch on the spinning bit and pull your hand into the cutter faster than you can react. Keep your hands bare or use non-slip grip aids designed specifically for woodworking instead.
How can I practice router techniques safely as a beginner?
Start with shallow cuts in softwood scraps, using the router unplugged to rehearse your hand positions and feed path first. Graduate to powered cuts at slow speeds with minimal depth, then increase complexity as your muscle memory develops.
When should I unplug the router instead of just turning it off?
Unplug whenever you’re changing bits, adjusting depth, or doing any maintenance. The switch can be bumped accidentally, and developing the unplug habit removes any chance of the router starting while your hands are near the bit.
Is it safe to reach over the router while it’s running?
Absolutely not. Always keep your body, arms, and loose clothing clear of the bit path. Position yourself so the router moves away from your body, and wait for the bit to stop completely before reaching across or adjusting anything.
These questions come up repeatedly in workshops because they address real situations you’ll face. The answers might seem overly cautious at first, but each one prevents a specific type of accident that experienced woodworkers have seen happen. Trust the safer approach until you’ve logged enough hours to understand why these rules exist, then you’ll follow them automatically because you’ve internalized the risks.
These four router safety practices, two-handed control, correct feed direction, secure workpieces, and bit inspection, aren’t just rules to memorize. They’re habits that protect you every single time you pick up your router. The good news? They become second nature faster than you think.
Start slow. Focus on one safety principle per project until it feels automatic. There’s no rush to tackle complex routing techniques right away. Every skilled woodworker you admire built their confidence the same way: safe practice, one cut at a time.
Safety isn’t what limits your creativity in the workshop, it’s what makes creativity possible. When you’re confident in your safety habits, you can focus on what really matters: bringing your furniture designs to life. Keep practicing these fundamentals, stay patient with your progress, and enjoy the journey of building both your skills and beautiful pieces.
