

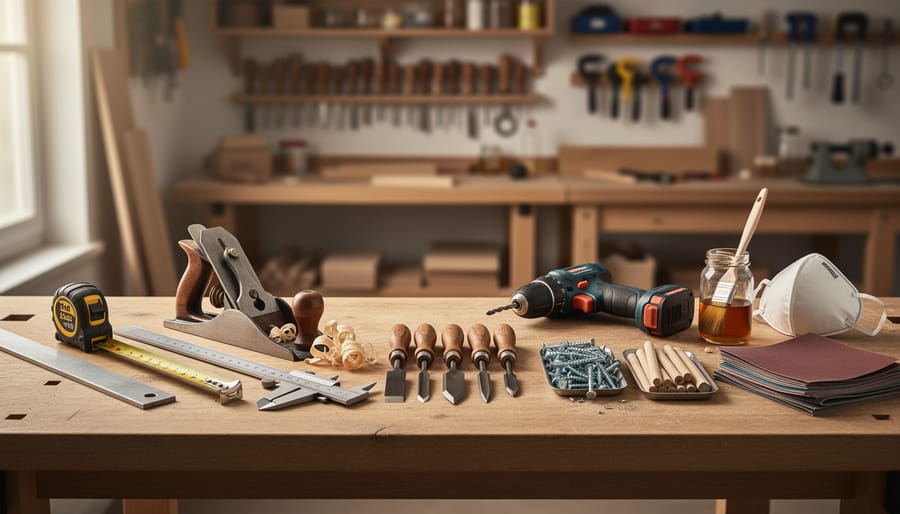
Building furniture at home requires just seven essential tool categories: measuring and marking tools, cutting tools, shaping and smoothing tools, assembly tools, fasteners and hardware, finishing supplies, and safety equipment. You can complete most beginner to intermediate furniture projects with a basic kit costing around $200 to $400, though your investment will grow as your skills and ambitions expand.
The difference between struggling through your first project and actually enjoying the process comes down to having the right tools within reach. I’ve watched countless beginners try to build a simple bookshelf with nothing but a handsaw and a single screwdriver, only to give up halfway through when their measurements drift or their joints won’t align. That frustration is completely avoidable.
This guide walks you through each tool category you’ll need, explaining not just what to buy but why each tool matters and when you’ll reach for it during an actual build. You’ll learn which tools deserve your budget first, which ones can wait, and how to avoid the common trap of either under-buying and getting stuck mid-project or over-buying expensive equipment that sits unused in your garage.
Whether you’re planning to build your first coffee table or ready to tackle a complete bedroom set, understanding these tool fundamentals gives you the confidence to start cutting wood instead of just reading about it. Let’s break down exactly what belongs in your workshop.
Essential Measuring and Marking Tools
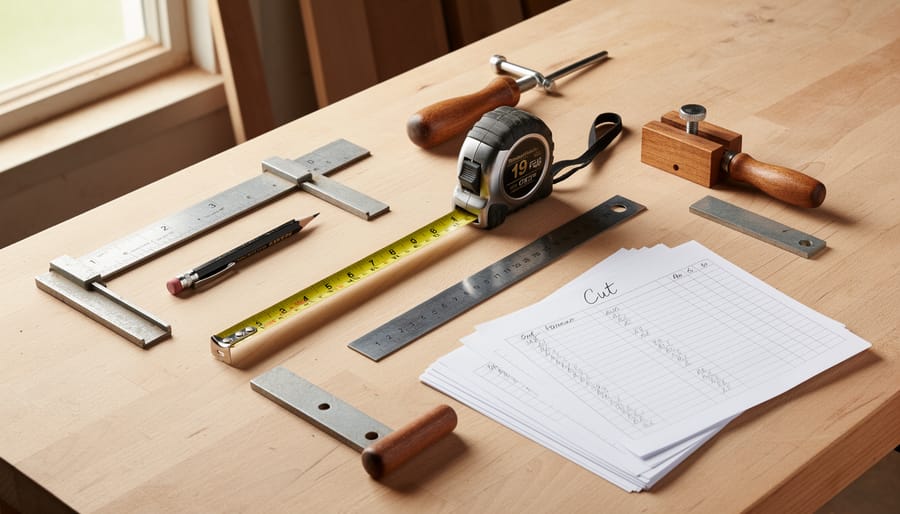
Before you make a single cut, you need to measure and mark your wood with precision, furniture building tolerates almost no error, because even a 1/16-inch mistake compounds across multiple pieces and ruins joints, alignment, and stability.
Start with a 25-foot tape measure that has a locking mechanism and clear markings down to 1/16-inch increments. This becomes your primary measuring tool for board lengths, widths, and checking dimensions throughout your project. A sturdy metal case withstands drops, and the belt clip keeps it always within reach.
The combination square is your accuracy workhorse. It checks right angles, marks perpendicular lines across boards, measures depth, and verifies that edges are truly square, not slightly off, which creates wobbly furniture. Hold the square’s body against the board edge and slide the ruler to mark consistent measurements, ensuring all your table legs or shelf supports end up identical lengths.
A marking gauge scribes parallel lines at precise distances from an edge, invaluable when marking mortises, tenons, or consistent setback lines for joinery. Adjust the fence to your desired measurement, lock it down, and drag the sharp pin along the wood grain to create a fine, accurate line that won’t rub off like pencil marks.
Your essential measuring and marking toolkit includes:
- 25-foot tape measure with lock and belt clip for all length measurements
- Combination square for checking 90-degree angles and marking perpendicular lines
- Marking gauge for scribing parallel lines at exact distances from edges
- Carpenter’s pencils (flat shape prevents rolling) for visible, erasable marks
- Speed square for quick angle checks and marking 45-degree miters
The speed square handles fast angle verification and guides circular saw cuts. Its triangular shape with degree markings makes laying out rafters, marking angled cuts, and checking corners quick work.
These five tools work as a system. You measure with the tape, verify square with the combination square, mark cutting lines with the pencil, scribe joinery with the gauge, and check angles with the speed square. Miss one, and you’ll constantly improvise with less accuracy, leading to gaps in joints and furniture that rocks on uneven legs.
Cutting Tools You Can’t Build Without
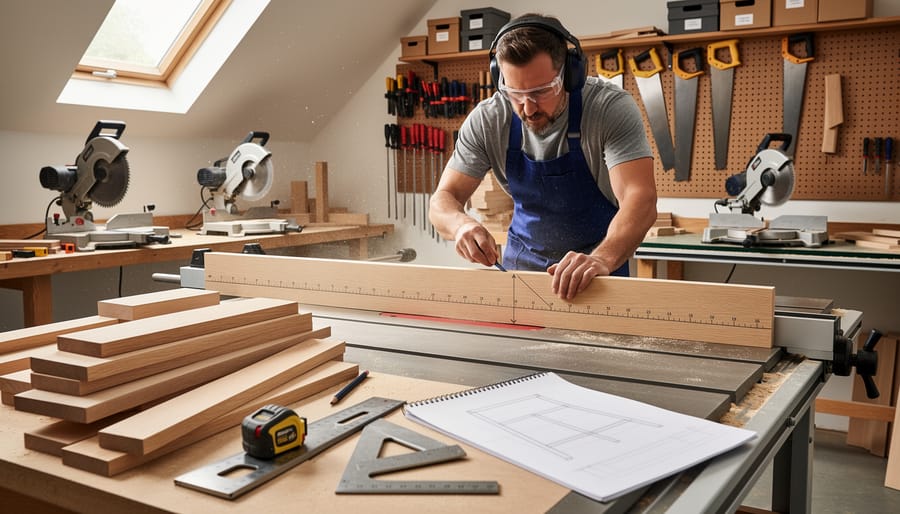
You can’t build furniture without tools that cut wood cleanly and accurately. Your cutting arsenal should start with three core power saws, each handling different types of cuts that furniture projects demand.
A circular saw is your workhorse for breaking down full sheets of plywood and making long, straight cuts in dimensional lumber. It’s portable, versatile, and typically costs $50-150 for a reliable model. You’ll reach for this when cutting plywood panels for cabinet sides or ripping boards to width. Pair it with a straightedge guide, and you’ll get cuts nearly as clean as a table saw.
The miter saw excels at crosscuts and angled cuts in boards up to about 12 inches wide. When you’re building a table and need four identical legs or cutting trim pieces at precise 45-degree angles for a frame, the miter saw delivers repeatable accuracy that hand tools can’t match. A 10-inch sliding compound model runs $200-400 and handles most furniture dimensions.
A jigsaw cuts curves, interior cutouts, and irregular shapes that other saws can’t. You’ll need it for rounded tabletop edges, decorative cutouts in headboards, or notches around obstacles. It’s less essential than the first two but indispensable once your projects move beyond simple rectangles. Expect to spend $50-100 for a decent jigsaw with variable speed control.
For builders tackling larger or more complex furniture projects, a table saw becomes the upgrade that changes everything. It rips long boards with precision, cuts dados and rabbets for joinery, and handles repetitive cuts faster than any other tool. Cabinet table saws start around $300 for contractor-grade models. Many beginners skip this initially and add it once simpler saws feel limiting.
Don’t overlook hand saws entirely. A quality Japanese pull saw ($30-60) gives you control for fine trim work, cutting tenons, and situations where power tools are too aggressive. A coping saw handles tight curves in thin material. These complement your power saws rather than replace them, offering precision when you need a delicate touch.
The right saw for each cut prevents mistakes, saves material, and makes furniture building feel like craftsmanship rather than combat.
Power Tools for Shaping and Smoothing
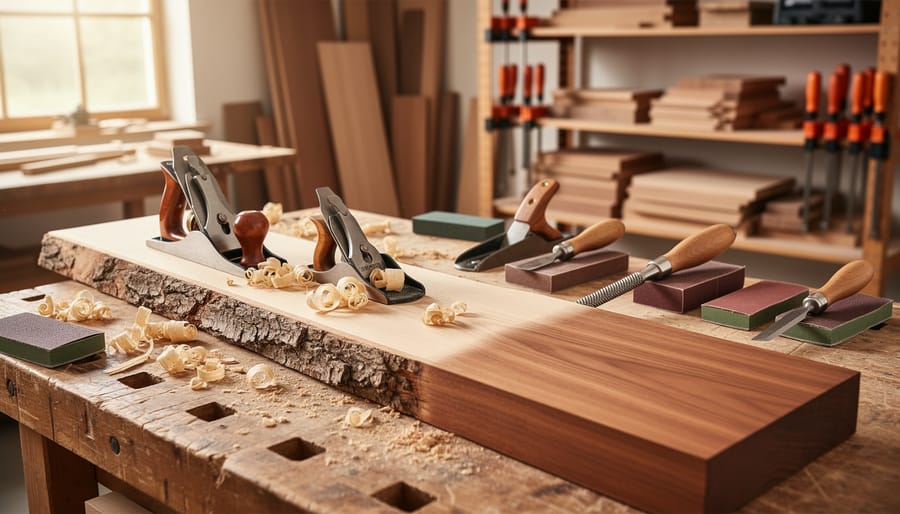
Once you’ve cut your wood pieces to size, the next step transforms rough lumber into furniture-worthy surfaces. Power tools for shaping and smoothing make this possible without hours of hand-sanding and chisel work.
Sanders: Your Path to Professional Finishes
An orbital sander is your first priority. This versatile tool uses circular sanding pads that spin and oscillate simultaneously, removing material evenly without leaving swirl marks. For $50-80, you’ll get a tool that handles 90% of furniture finishing work, from smoothing tabletops to preparing surfaces for stain. Start with 80-grit sandpaper to remove roughness, progress to 120-grit for general smoothing, then finish with 220-grit before applying finishes.
Belt sanders remove material much faster, making them ideal for leveling uneven surfaces or stripping old finishes, but they’re aggressive. Beginners should wait on this purchase until you’re confident with an orbital sander. Detail sanders (also called mouse sanders) have triangular pads that reach into corners and tight spaces where orbital sanders can’t fit, useful but not essential initially.
Routers: Creating Decorative Edges and Joints
A router spins cutting bits at high speed to shape wood edges, cut grooves, and create decorative profiles. With a roundover bit, you can soften sharp table edges. With a dado bit, you cut slots for shelves. For beginners, a basic fixed-base router ($80-120) with a starter bit set covers most furniture projects. Save plunge routers and advanced techniques for later.
Power Drills: Beyond Just Making Holes
You already need a drill for assembly, but paired with spade bits, Forstner bits, and hole saws, it becomes a shaping tool. Forstner bits cut clean, flat-bottomed holes perfect for concealing screw heads or creating dowel joints. A corded drill provides consistent power for demanding drilling tasks, while your cordless impact driver handles screws.
Start with an orbital sander and basic router. Add specialty sanders and advanced router bits as your projects demand them.
Assembly and Fastening Essentials
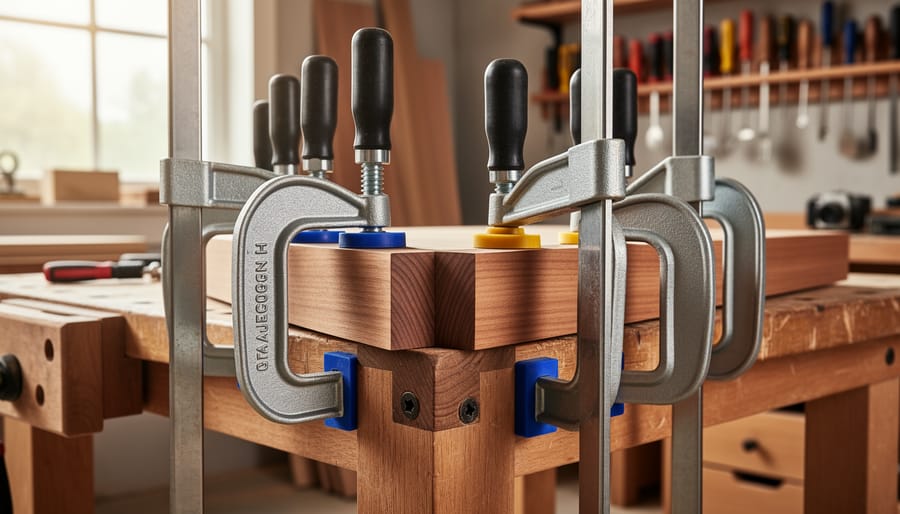
Joining your carefully measured and cut pieces into a finished piece of furniture requires the right fastening tools and techniques. While power tools get the glory, assembly tools are what actually hold your project together, literally.
Start with clamps, the unsung heroes of furniture building. You’ll need at least four bar clamps in the 24-36 inch range for most projects, plus a few smaller spring clamps for detail work. Pipe clamps offer an economical way to extend your reach for wider projects like tabletops. C-clamps provide concentrated pressure for edge gluing and small assemblies. Each type serves a specific purpose: bar clamps for long glue-ups, spring clamps for holding pieces temporarily while you work, and C-clamps when you need serious pressure in a tight spot.
For driving screws, an impact driver outperforms a regular drill every time. The hammering action prevents cam-out and drives screws flush without stripping heads, even in hardwood. Pair it with a set of driver bits in Phillips, square, and Torx profiles. Keep a manual screwdriver set for final adjustments and delicate work where power tools are overkill.
A 16-ounce claw hammer handles nail setting, joint persuasion, and general assembly tasks. For finish work, a brad nailer eliminates visible fasteners and speeds up trim installation, though it’s optional for beginners working with screws and plugs.
Wood glue deserves mention as your most important “tool.” Yellow carpenter’s glue (PVA) creates bonds stronger than the wood itself when applied correctly. Keep bottles fresh, glue loses strength after a year.
Safety Equipment Every Woodworker Must Have
Safety gear isn’t negotiable. Every woodworking project generates hazards that can cause permanent injury, and skipping protection because “it’s just a quick cut” is how accidents happen. Treat safety equipment as part of your core toolkit, not an afterthought.
Safety glasses with side shields protect against the most common workshop injury: flying wood chips, sawdust, and splintered fragments that can blind you instantly. Regular prescription glasses don’t cut it because they leave gaps. Look for ANSI Z87.1-rated eyewear that wraps around your face and stays secure during movement. If you wear glasses, get safety goggles that fit over them or invest in prescription safety glasses.
Hearing protection matters more than most beginners realize. A circular saw hits 100 decibels, a router reaches 105, and exposure above 85 decibels causes cumulative hearing loss. Foam earplugs work for occasional projects, but if you’re building regularly, get noise-canceling earmuffs rated for at least 25 NRR (Noise Reduction Rating). You won’t notice the damage until it’s permanent.
Dust masks or respirators protect your lungs from wood dust, which the International Agency for Research on Cancer classifies as carcinogenic. A basic N95 mask handles most sanding and cutting tasks, but if you’re working with treated lumber, stains, or finishes, upgrade to a half-face respirator with organic vapor cartridges. Fine dust particles stay airborne for hours and accumulate in your respiratory system.
Work gloves protect against splinters and rough lumber during material handling, but take them off when operating power tools, they can catch on moving parts and pull your hand into the blade. Keep a dedicated pair for carrying wood and a separate bare-hands policy for actual cutting and shaping.
Proper workshop lighting prevents mistakes and injuries. You need bright, shadow-free illumination to see cut lines clearly and spot hazards before they cause problems. Position overhead LED shop lights directly above your work area and add task lighting at tool stations.
How to Build Your First Furniture Piece: Step-by-Step Tool Usage
Let’s walk through building a simple workbench top, a project that demonstrates every major tool category in a real-world sequence. This 24″ × 48″ bench surface uses basic joinery and shows you exactly when each tool comes into play.
Planning and Initial Setup
Before touching any tools, verify your lumber dimensions. You’ll need three 2×6 boards at 48 inches long for the top surface. Lay them side by side on a flat surface to visualize the finished piece. This planning stage prevents costly mistakes once you start cutting.
The Build Sequence
- Measure and mark your cuts using a tape measure and combination square. Mark all three boards at 48 inches, drawing a square line across the width with your pencil. Double-check measurements before cutting, this is where most beginner mistakes happen.
- Cut the boards to length with your circular saw. Clamp each board securely to sawhorses, align the saw blade with your marked line, and make steady, controlled cuts. The circular saw handles this crosscut efficiently, though a miter saw would give cleaner results.
- Sand all surfaces with an orbital sander starting with 80-grit sandpaper. Focus on removing splinters and smoothing the cut ends first, then work across the face of each board. Switch to 120-grit for the final pass. This step takes 15-20 minutes but makes the difference between rough lumber and furniture-quality wood.
- Arrange the three boards edge-to-edge and mark biscuit or pocket hole locations if joining them into a solid top. For beginners, apply wood glue along the edges and use bar clamps every 12 inches to hold the boards together. Widen your reach as needed with pipe clamps for larger glue-ups. Wipe away excess glue with a damp cloth before it dries.
- Drill pilot holes with your power drill before driving screws along the underside supports. Use a drill bit slightly smaller than your screw diameter to prevent splitting. An impact driver makes quick work of driving 2.5-inch screws into these pilot holes.
- Add cross supports underneath using 2×4 boards cut to 21 inches. Attach these perpendicular to the top boards at each end and center using the same drill-and-drive technique. These supports prevent warping and add rigidity.
- Do a final sanding pass with 220-grit sandpaper, hitting any rough edges or glue squeeze-out you missed. Run your hand across all surfaces, if it catches anywhere, sand it smooth.
- Apply your finish of choice. For a workbench, a simple coat of boiled linseed oil works well. Use a clean rag, apply liberally, let it soak for 15 minutes, then wipe off the excess.
What This Project Teaches
Notice how the tools appeared in functional groups, measuring tools first, cutting tools second, shaping tools third, then assembly tools. This sequence repeats in nearly every furniture project. Your tape measure and square set up accuracy for everything that follows. Poor measurements mean your circular saw cuts won’t fit together properly. Skipping the sander leaves you with rough joints that clamps can’t close tightly.
The workbench project also reveals which tools get the most use. You’ll grab your drill dozens of times but your jigsaw not at all. That’s normal. Not every tool appears in every project, but when you need a specific tool, nothing else substitutes for it.
Testing Your Setup and Knowing You’re Ready to Build
Before starting your first furniture project, lay out every tool you’ll need and check each one individually. For a simple bookshelf, that means your tape measure, square, saw, drill with bits, sandpaper, clamps, and safety glasses all within arm’s reach. Run your tape measure across a known distance to confirm it’s accurate, check that your square forms a true 90-degree angle against a factory edge, and make a test cut on scrap wood to verify your saw blade is sharp and cutting straight.
Test cuts on scrap material reveal whether your setup works before you touch expensive lumber. Make a crosscut, a rip cut, and drill a few pilot holes at different depths. If the saw binds, the blade might be dull or installed backward. If drill bits wobble, the chuck needs tightening. These five-minute tests save hours of frustration and wasted wood.
Watch for signs you need better tools rather than just practice. If your circular saw struggles through hardwood despite a sharp blade, it might lack power for your projects. If clamps slip during glue-up no matter how you position them, you need more or better clamps. But most beginner frustrations come from dull blades, incorrect tool settings, or rushing measurements, not inadequate tools. Master what you have before upgrading. A $50 saw in skilled hands outperforms a $300 saw used carelessly.
Common Questions About Furniture-Building Tools
Can I build furniture with just hand tools?
Yes, traditional woodworkers built furniture for centuries using only hand tools like saws, chisels, and planes. Hand-tool-only builds take more time and physical effort, but they’re quieter, require less space, and give you exceptional control over details.
What’s the minimum tool investment to get started?
You can start building simple furniture with $150-$300 covering a tape measure, combination square, circular saw, drill/driver, clamps, safety glasses, and sandpaper. This basic kit handles straightforward projects like shelves, benches, and small tables while you decide which specialty tools to add next.
Should I buy new or used tools?
Quality hand tools hold up well used, vintage squares, saws, and clamps are often better made than modern budget versions. For power tools, buy new unless you can test a used tool thoroughly before purchase, since motors and bearings wear out in ways that aren’t always obvious.
How do I maintain my woodworking tools?
Keep blades sharp, wipe down tools after each use to remove dust and moisture, apply a light machine oil to metal surfaces monthly, and store everything in a dry place. Sharp tools are safer and more accurate than dull ones, so invest in sharpening supplies or professional sharpening services early.
The order you buy tools matters more than buying everything at once. Start with measuring and marking tools since every project begins with accurate layout. Add a circular saw and drill next because they handle the widest range of cutting and fastening tasks. Clamps come third, you’ll never have enough, and they’re essential for safe, accurate assembly.
Resist the urge to buy the cheapest option for tools you’ll use frequently. A $30 tape measure that stays accurate beats a $10 one that drifts after six months. Conversely, don’t overspend on tools you’ll rarely use. That specialty router bit can wait until a project actually requires it.
Your first few projects will reveal which tools you reach for constantly and which sit unused. Pay attention to these patterns. If you’re constantly frustrated by rough cuts from your jigsaw, upgrading to a better blade or a different saw will improve both your results and your enjoyment. Woodworking should feel satisfying, not like fighting your equipment.
