

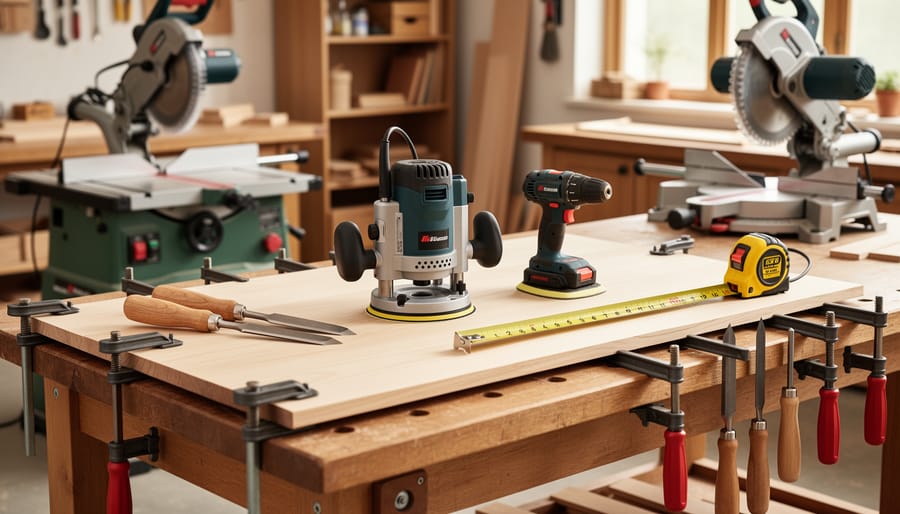
Setting up a woodworking shop starts with eight essential power and hand tools that form the backbone of every furniture project. You’ll need a table saw for breaking down lumber and making precise cuts, a power drill for joinery and hardware, a random orbital sander for smooth finishes, a miter saw for accurate crosscuts, a router for edge profiles and joinery, quality chisels for fine-tuning joints, a reliable workbench as your command center, and clamps in various sizes to hold assemblies together. These tools cover the core tasks you’ll encounter whether you want to build a desk craft bookcases, or tackle other custom furniture projects.
The right foundation saves you from buying twice. Many beginners grab whatever’s on sale, then realize six months later they need better accuracy or more capacity. This guide walks you through each tool’s role in your shop, what features actually matter for furniture work, and how to choose versions that grow with your skills. We’ve focused on tools that deliver maximum versatility without requiring a commercial budget, so you can start building quality pieces right away instead of waiting until your workshop is “complete.”
How We Selected These Essential Shop Tools
We didn’t just pull these eight tools out of thin air. Each one earned its spot by meeting strict criteria that matter to anyone building home office furniture, whether you’re assembling your first desk or tackling your tenth bookshelf. These essential tools represent the intersection of practicality, value, and real-world usefulness in a working shop.
Here’s what we considered:
- Versatility across multiple furniture projects, from desks and shelves to cabinets and tables
- Safety features and ease of use for beginners while remaining valuable as skills advance
- Frequency of use in typical workshop operations, not niche applications
- Skill-building value that helps you understand fundamental woodworking techniques
- Foundational role in most furniture-making processes, forming the backbone of a functional shop
Every tool on this list passes the “desert island” test: if you could only stock a small shop with the basics, these would make the cut. They’re the tools you’ll reach for constantly, not the ones that gather dust between occasional projects. Together, they create a complete system that lets you tackle serious furniture builds without breaking the bank or overwhelming your workspace.
1. Table Saw, Your Workshop Workhorse for Precise Cuts
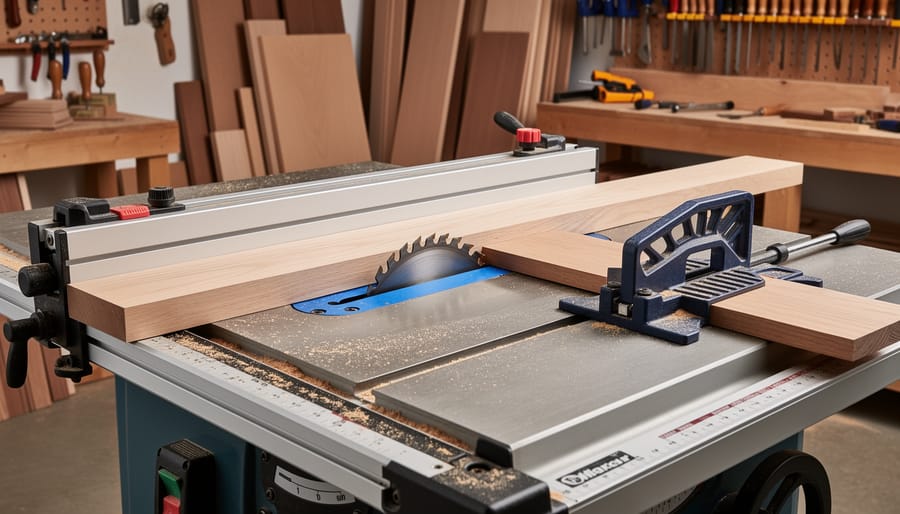
The table saw earns its place as the centerpiece of any serious woodworking shop. If you’re building desks, bookshelves, or cabinets, this tool handles the heavy lifting, ripping long boards to width, crosscutting panels to exact dimensions, and making dozens of identical cuts without measuring each one. That repeatability changes everything. Set the fence once, and every piece comes out the same length. No other tool in your shop delivers that combination of power, precision, and speed.
When you’re shopping for a table saw in 2026, safety features should top your list. Look for models with riving knives that prevent kickback, anti-kickback pawls, and blade guards you’ll actually use because they’re easy to adjust. Flesh-sensing technology like SawStop’s brake system costs more upfront but can save your fingers, a worthwhile investment if budget allows. Beyond safety, fence quality separates frustrating tools from reliable workhorses. A fence that locks square and stays parallel to the blade means accurate cuts every time. Cheap fences drift, bind, or require constant adjustment.
Power matters too, especially for hardwoods. A 15-amp motor handles most furniture projects, but if you’re ripping thick maple or oak regularly, consider a contractor saw or hybrid model with more muscle. Portability trades off with stability, jobsite saws fold up nicely but vibrate more than cabinet saws.
For your first desk build, the table saw rips plywood panels for the top, crosscuts legs to length, and cuts dados for drawer slides. What might take an hour with a circular saw and clamps takes ten minutes at the table saw. That efficiency keeps projects moving and your enthusiasm high.
2. Miter Saw, Perfect Angles for Frames and Trim
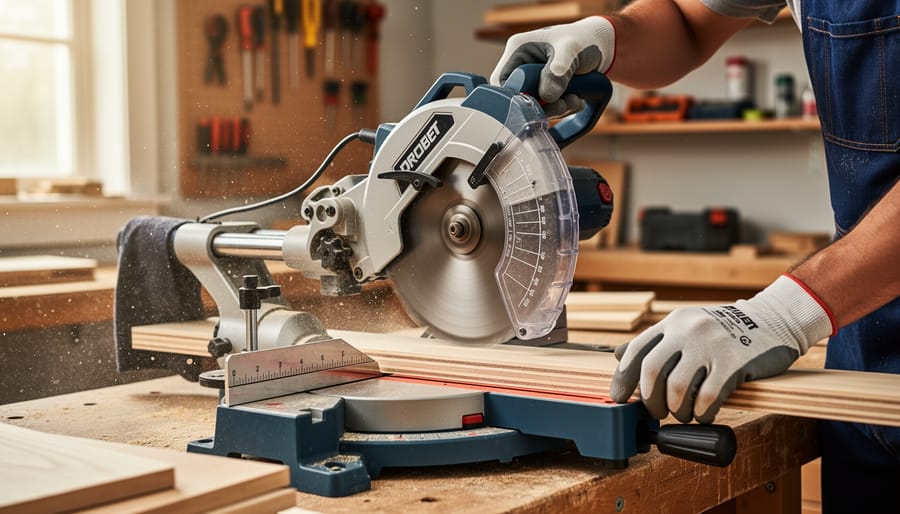
A miter saw excels at making clean crosscuts and precise angled cuts, which makes it invaluable for trim work, picture frames, and any project requiring mitered corners. When you’re building a bookcase with face frames or adding trim to a desk, the miter saw delivers repeatable angles that hand tools can’t match for speed and consistency.
You’ll encounter two main types: standard miter saws that cut left and right angles, and compound miter saws that also tilt the blade for bevel cuts. Compound models cost more but unlock crown molding, angled joinery, and complex trim profiles. For furniture makers focusing on desks, shelves, and cabinets, a compound saw opens more design possibilities without a huge learning curve.
When shopping in 2026, prioritize a 10-inch or 12-inch blade. The 10-inch handles most furniture stock and costs less to run (replacement blades are cheaper), while the 12-inch crosscuts wider boards in one pass. Check that the bevel adjustment locks securely and the miter detents click firmly at common angles like 0, 22.5, and 45 degrees. Loose detents lead to gaps in your miters.
Look for a model with a clear angle scale, an easy-to-reach power switch, and a dust port that actually captures sawdust. A laser guide helps beginners line up cuts faster, though it’s not essential once you learn to trust the fence. If you’re planning a desk tool guide project, the miter saw handles leg cuts, apron pieces, and trim with minimal setup time, making it a true workhorse for angled work.
3. Drill/Driver Combo Kit, Drilling Holes and Driving Fasteners Made Easy
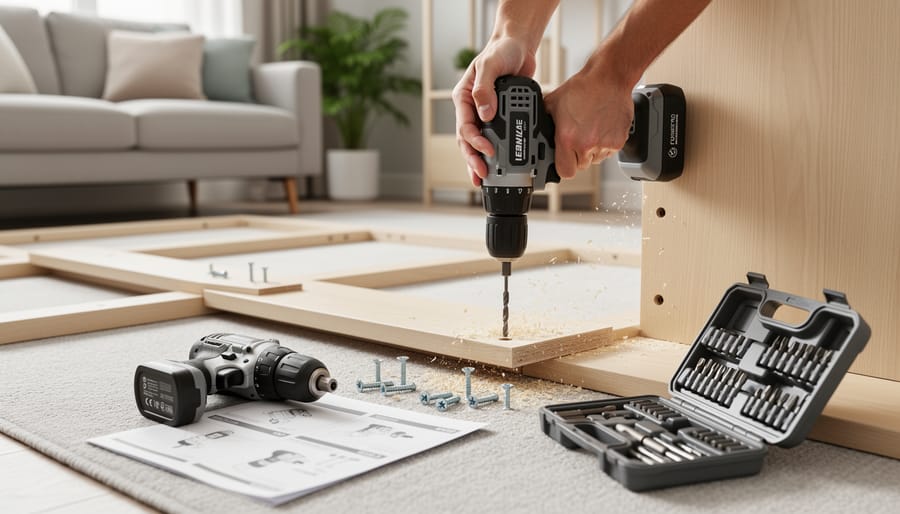
A cordless drill/driver combo kit earns its spot as an essential tool because it handles two critical tasks every furniture builder faces: boring precise holes and driving screws quickly. You’ll reach for this duo constantly, whether pre-drilling pilot holes for drawer fronts, countersinking screws in desk legs, or assembling entire bookcase frames.
The standard drill excels at creating clean holes in wood, metal, and plastic. Its adjustable clutch settings prevent overdriving screws during delicate work like attaching hardware or joining thin boards. The impact driver, meanwhile, delivers rotational force (torque) in rapid bursts, making it the go-to for driving long screws into hardwood or assembling heavy structures without straining your wrist. That pulsing action also prevents cam-out, when the bit slips from the screw head, which saves both your fasteners and your patience.
When shopping in 2026, pay attention to the battery platform. Major brands like DeWalt, Milwaukee, and Makita offer extensive tool ecosystems that share the same batteries. Starting with an 18V or 20V system gives you flexibility to expand your collection later without buying new batteries each time. Look for kits that include at least two batteries (so one charges while you work) and a charger.
Torque matters too. For furniture work, a drill with 300-500 inch-pounds and an impact driver with 1,400+ inch-pounds handles everything from pilot holes to lag bolts. Brushless motors cost more upfront but run cooler, last longer, and deliver better battery life, worth the investment if you’re building regularly.
4. Random Orbital Sander, Smooth Surfaces Without the Sweat
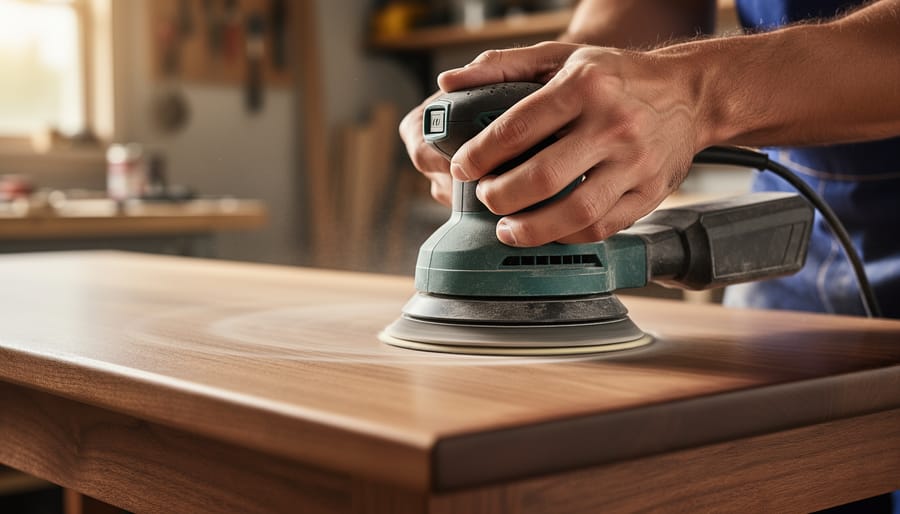
A random orbital sander transforms rough-cut lumber into silky-smooth surfaces ready for finishing, and it does so without leaving the circular scratch marks that plague other sanders. This tool spins and oscillates simultaneously, creating a random sanding pattern that eliminates visible swirls on desktops, tabletops, and cabinet doors.
The secret to professional results lies in grit progression. Start with 80-grit sandpaper to remove mill marks and level glue joints, then move to 120-grit to refine the surface. For furniture that will be stained or finished, progress to 180-grit or 220-grit for a glass-smooth feel. Skipping grits creates more work, not less, because coarse scratches telegraph through finer passes.
Dust collection makes a massive difference in visibility and shop cleanliness. Most orbital sanders have built-in dust ports that connect to shop vacuums or dust extractors. Use dust bags only as a last resort, they clog quickly and reduce suction efficiency. Clean air means you can see your work clearly and breathe easier.
Compared to belt sanders, orbital sanders are far more forgiving for furniture work. Belt sanders remove material aggressively and can gouge soft woods or create dips if you linger too long in one spot. The orbital sander’s lighter touch and ergonomic design reduce hand fatigue during long sessions, making it ideal for the detail-oriented work furniture building demands.
Look for 5-inch models with variable speed control and a comfortable grip. Your hands will thank you after finishing your third tabletop.
5. Router, Shaping Edges and Creating Decorative Details
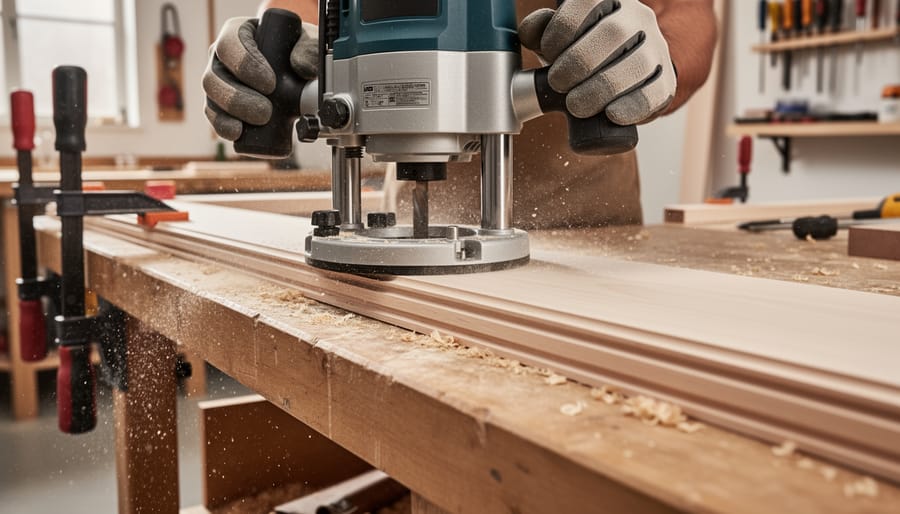
A router transforms basic boards into refined furniture pieces by shaping edges, cutting joints, and adding decorative touches that separate homemade projects from store-bought items. This tool spins a cutting bit at high speeds, typically 10,000 to 25,000 RPM, to carve wood with precision that hand tools can’t match.
For furniture making, routers handle several critical tasks. They round over sharp edges on desktops and shelves for a comfortable, professional feel. They cut dados (grooves across the grain) and rabbets (L-shaped notches along edges) that create strong joinery for bookcases and cabinets without visible fasteners. They also mill decorative profiles like ogees and coves that add visual interest to table aprons and drawer fronts.
You’ll encounter two main router types when shopping. Fixed-base routers lock the bit at a set depth, making them ideal for edge work and template routing where you need consistent depth throughout the cut. Plunge routers let you lower the spinning bit into the wood’s surface, perfect for mortises, interior grooves, and stopped cuts that don’t run to the board’s edge. Many woodworkers eventually own both, but if you’re choosing one to start, a fixed-base model offers simpler operation and more stable edge routing for typical furniture projects.
For your first bit collection, grab a starter set with these profiles: 1/4-inch and 1/2-inch straight bits for dados and grooves, a 1/4-inch roundover bit for softening edges, a rabbeting bit with interchangeable bearings for various depths, and a flush-trim bit for pattern work. Quality carbide-tipped bits cost more upfront but stay sharp through dozens of projects, while cheap bits dull quickly and burn wood. Match bit shank diameter to your router’s collet, 1/4-inch shanks work in any router, but 1/2-inch shanks reduce vibration and handle heavier cuts when your router accepts them.
6. Clamps (Bar Clamps and Pipe Clamps), The Third Hand You’ll Always Need
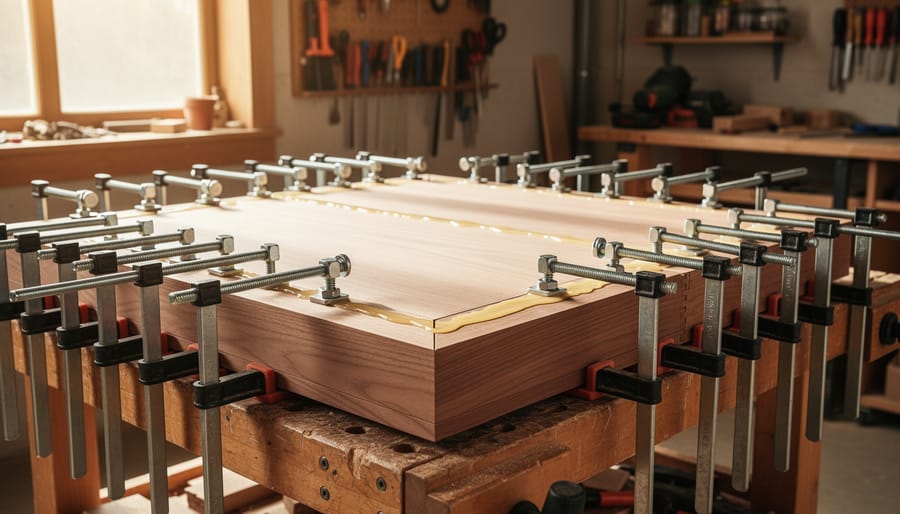
You’ll hear experienced woodworkers say it constantly: you can never have too many clamps. It sounds like an exaggeration until you’re mid-glue-up on a bookshelf and realize you’re two clamps short of keeping everything square. Clamps are the third hand, often the third, fourth, and fifth hand, that hold your project together while glue dries, keep boards aligned during assembly, and apply even pressure across joints so they cure strong and flat.
Bar clamps and pipe clamps are your go-to options for furniture work. Bar clamps feature a fixed rail and sliding jaw, making them quick to adjust and sturdy enough for most desk, cabinet, and tabletop projects. Pipe clamps use threaded pipe as the bar, so you can customize lengths by swapping pipes, which is handy as your projects grow. Both types deliver the clamping force you need to pull tight miters, secure edge-glued panels, and hold cabinet sides square during assembly.
When you’re gluing up a desktop or drawer box, clamps ensure your joints don’t shift before the adhesive sets. Use them in pairs on opposite faces to balance pressure and prevent bowing. Check for square with your combination square as you tighten, adjusting clamp positions if corners drift out of alignment.
As your shop grows, so will your clamp collection. Store them within easy reach, hanging them on a wall rack or dedicating a section of your workshop storage keeps them accessible when seconds count during glue-up. You’ll reach for clamps on nearly every build, and having the right length and enough of them turns stressful assemblies into controlled, confident work.
7. Circular Saw, Portable Power for Breaking Down Sheet Goods
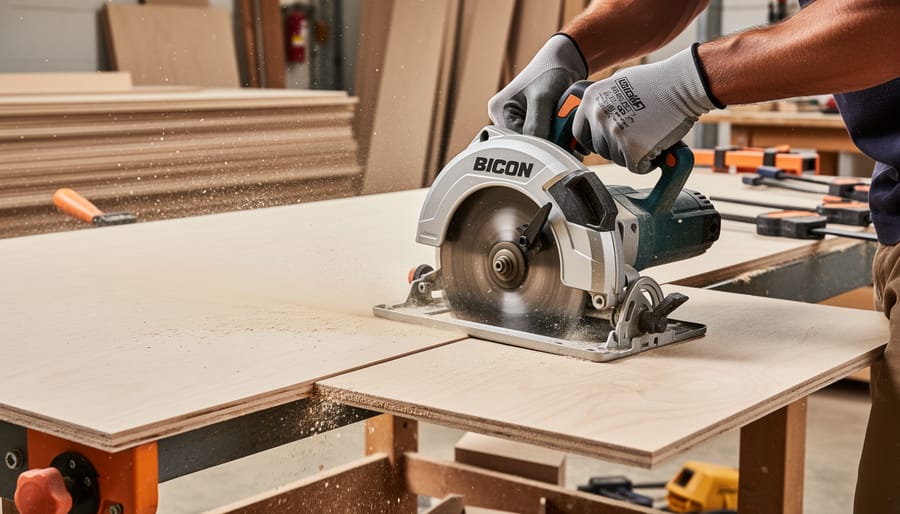
A 7¼-inch circular saw gives you cutting power wherever you need it, which matters most when you’re dealing with full 4×8-foot sheets of plywood in your driveway or garage. Trying to wrestle an unwieldy sheet onto a table saw alone is awkward and unsafe, the circular saw lets you break down large panels into manageable pieces right where they sit, then bring those smaller sections to your stationary tools for final cuts.
Look for a corded model in the 15-amp range if you want consistent power without worrying about battery life during long sessions. Cordless versions work great for quick cuts and offer mobility, but you’ll want spare batteries on hand. Either way, the saw should feel balanced in your hands and have clear depth and bevel adjustment controls that lock firmly.
Blade choice matters. A 24-tooth carbide blade handles ripping and rough crosscuts on framing lumber, while a 60-tooth blade produces cleaner edges on plywood and hardwoods for furniture parts. Keep both in your shop and swap them based on the task.
For straight, accurate cuts, clamp a straightedge guide to your workpiece, a level, factory edge of scrap plywood, or a dedicated cutting guide, and run the saw’s base plate along it. Measure the offset between your blade and the edge of the base plate, then position the guide that distance from your cut line. This simple technique turns your circular saw into a precision tool and belongs on every tool checklist for furniture makers who work with sheet goods regularly.
8. Tape Measure and Combination Square, Accuracy Starts with Measuring Right
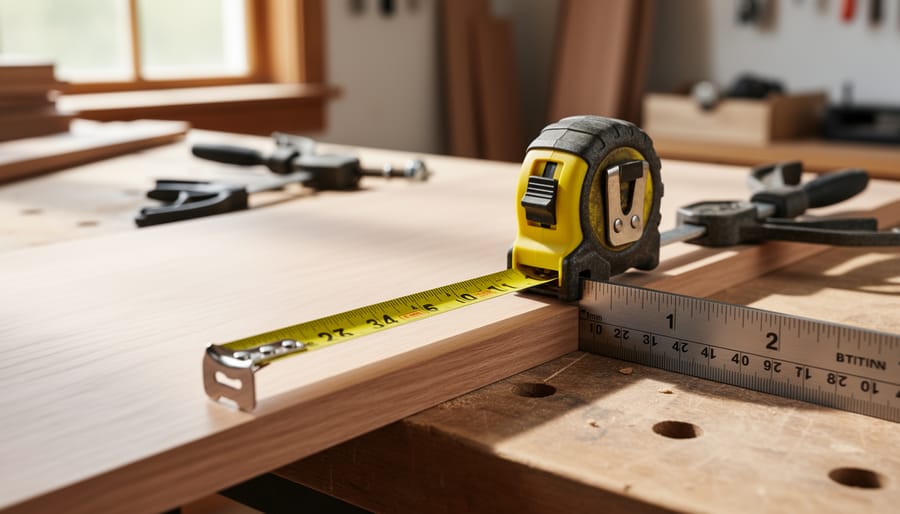
Every cut, joint, and assembly in woodworking hinges on one thing: accurate measurements. Without reliable measuring and marking tools, even the most expensive saws and routers won’t save you from gaps, misaligned joints, and furniture that wobbles. That’s why a quality tape measure and combination square aren’t optional, they’re the foundation of everything you’ll build.
A 25-foot tape measure should live in your apron pocket. Look for one with a sturdy hook that stays square, clear markings down to 1/16-inch increments, and a blade that locks firmly at any extension. The extra length handles full sheets of plywood and long boards without frustration. Fractional markings matter more than you’d think, eyeballing “close enough” compounds into noticeable errors across multiple pieces.
The combination square does triple duty that justifies its place on every workbench. Use the 90-degree head to verify cuts are perfectly square, check if edges are flat, and scribe lines perpendicular to board edges. Flip it to the 45-degree face for miter checks. The ruler slides through the head, letting you mark consistent depths for dados or measure from an edge for identical hole placements across drawer fronts.
Buy once here. A cheap tape measure with a floppy hook or a combination square that’s not truly square will frustrate you on every project. Invest in name-brand tools with machined-steel heads and etched markings that won’t rub off. Verify your combination square’s accuracy against a known straight edge before trusting it, manufacturing tolerances slip sometimes, even on decent brands.
Measure twice, cut once isn’t just a cliché. It’s the difference between a desk that fits your space perfectly and expensive lumber in the scrap bin.
Building Your Shop: What Comes Next
You’ve now got the eight core tools that’ll carry you through countless furniture builds, from simple desks to full bedroom sets. These aren’t just random purchases; they’re the foundation every confident woodworker relies on. Start here, get comfortable with each tool’s quirks and capabilities, and you’ll be surprised how many projects suddenly feel achievable.
Don’t rush to fill every corner of your shop. Spend time learning proper setup, maintenance, and safe operation for each tool. A well-tuned table saw you understand deeply beats a garage crammed with equipment you’re afraid to use. As you complete projects, you’ll naturally identify gaps, maybe you need a bandsaw for curved cuts, or a jointer for perfectly flat edges. Let your actual work guide those decisions.
The confidence you build working with these basic tools translates directly to advanced techniques. Once you can make square cuts, accurate measurements, and smooth surfaces consistently, complex joinery and detailed trim work become logical next steps rather than intimidating mysteries. Start building, stay safe, and enjoy watching your skills grow alongside your tool collection.
Frequently Asked Questions
Getting started with woodworking tools raises practical questions, especially when you’re figuring out what to buy first and how much to spend. Here are answers to the most common concerns beginners face when building their shop.
What’s the first tool I should buy if I’m on a tight budget?
Start with a quality drill/driver combo kit and a circular saw. These two tools handle the majority of basic furniture-building tasks, from cutting plywood to drilling holes and driving screws, and they cost less combined than a table saw.
Can I start with used tools to save money?
Absolutely, and it’s often a smart move. Focus on buying used stationary tools like table saws and miter saws from reputable sellers, but invest in new cordless tools so you get current battery technology and a warranty. Always test used tools before buying and check that safety features work properly.
How much should I budget for these eight essential tools?
Expect to spend between $1,200 and $2,500 for quality versions of all eight tools in 2026, depending on whether you choose entry-level or mid-range models. You can spread purchases over several months, prioritizing the drill/driver, circular saw, and clamps first.
Do I need a workbench before I start buying tools?
Not necessarily. You can work on sawhorses with a sheet of plywood on top while you save for or build a proper bench. A solid work surface matters more than a fancy bench when you’re starting out.
What safety gear should I have on day one?
Get safety glasses, hearing protection, and a dust mask before you make your first cut. Add a face shield for routing and turning work, and keep a first-aid kit in your shop. Good safety habits cost little but prevent injuries that can end your woodworking journey.
Remember that your skill matters more than having every tool immediately. Start with the basics, learn how to use them safely and accurately, and add tools as your projects demand them. This approach keeps costs manageable while you build both your shop and your confidence.
